Uploading datasets
To run a model with Pharoes tools, you’ll need to upload the relevant dataset and profiles into your project. Follow these steps to import your data correctly:
Step-by-Step Guide
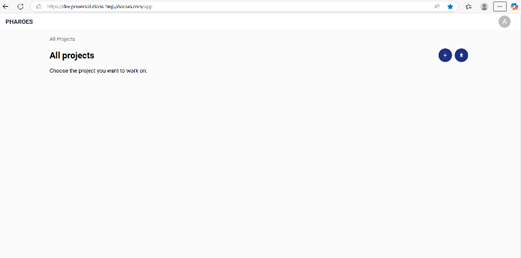
Step 1: Access Your Account or Open the Projects Window
Log in to your account to view the main dashboard and navigate to the Projects page in the portal. From here, you can access the list of all your existing projects.
Step 2: Create a New Project
To create a new project, click on the create (+) button located at the top right corner of the page.
Step 3: Upload Project Data
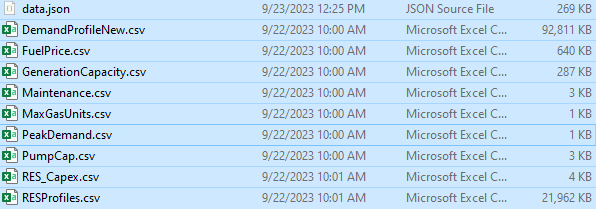
Within the project view, locate and click the Upload button. You will be prompted to upload the necessary project data. Here, you can attach both the data.json file, which contains all the system and execution information, and CSV profiles to be used in simulations. Alternatively, you can upload just the data.json file initially and add the profiles later from within the project.
Dataset file: By default named
data.json. This file contains the core model input data (e.g., topology, parameters, constraints).Profiles file(s): CSV format files that include time series data such as demand, generation, or weather profiles. After selecting the files, click Open to begin the upload.
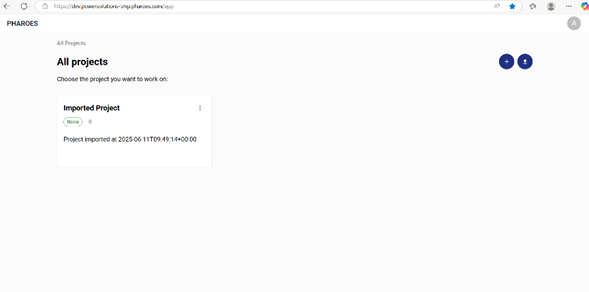
The portal will process and upload your files. This may take a few moments depending on file size. A confirmation message will appear once the upload is complete.
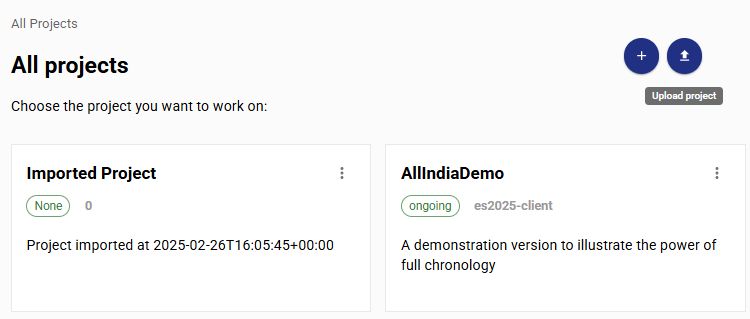
Step 4: Confirm and View Project
Once the project is created, it will appear in your list of projects. You can easily access and manage it from there.
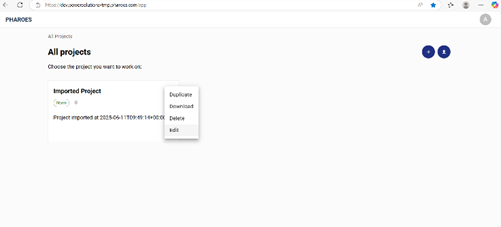
Step 5: Edit Project Details
You can edit various fields of your project, such as its name or add a description, to make it easier to identify and manage.
Notes
Ensure that the structure and formatting of your files match the expected input schema.
If you encounter errors during upload, check that:
data.jsonis valid and complete JSON.CSV files are properly formatted.